

Installing Mangos on Windows
There are multiple ways of installing MaNGOS, this method will be using EasyBuild (a MaNGOS written tool) to simplify the process.
1) Although there are several pieces of third party software that are required to be installed, only two need to be installed prior to running Easybuild.
Git (See HERE for the Install Guide) and
Visual Studio (See HERE got the Install Guide)
Both need to be installed before continuing. If you don't have them installed... go do that now !!
The rest of the third party software required for MaNGOS are:
Cmake (See HERE for the Install Guide). Only 32 or 64 Bit can be installed, not both.
OpenSSL (See HERE for the Install guide). Both 32Bit and 64Bit can be installed together. You need the full rather than the lightweight version.
MySQL (See HERE for the Install guide). Only 32 or 64 Bit can be installed, not both.
2) create a folder to hold all the source files i.e. Mangos_Files
3) Select the folder created above in explorer and right click on it, then select 'Git Bash here'
4) Clone the MaNGOS server and database GitHub repositories into folders in this folder (See HERE for a guide for cloning the repos)
5) Using explorer navigate to the server folder created above.
6) Navigate into the Win folder and double-click EasyBuild(If building MaNGOS three, run 'Patch_Easybuild_Mangos3' as the administrator before running EasyBuild).
7) Click CHECK NOW and let EasyBuild check for the MaNGOS dependencies. If your missing one, download and install it.
😎 Once MaNGOS finds everything it needs to build, click BUILD OPTIONS. If you want to change anything such as whether to build the extractions tools or not. The defaults are fine so we click on BUILD PROJECT. This will take a while so be patient.
9) If you look in the _install folder, all the require files you need on the server are there.
10) The contents of the tools folder need to be copied to where the wow client is located ready for the extraction process (see below).
11) Copy the remaining folder and files from this folder to your server folder
12) Extract the client data using extractresources.sh (See HERE to a guide to extracting the client data)
13) Now it's time to set up the database.
14) Select the folder created above in step 2 and then select dbzero(for MangosZero).
15) Double-click on InstallDatabases.bat
16) The initial settings as defaulted for the typical settings required for a new server setup but you might not want to create a new user right now so you press P then press N to continue.
17) The next few prompts are ask you to supply some key information to connect to your MySQL server, the text in square brackets [] are the default values if nothing is typed.
Some of the settings are:
Server Name / Address
Username
Password
Port
Character Database Name
World Database Name
Realm Database Name
18) The script will then proceed to populate all the databases and finish up looking like the following
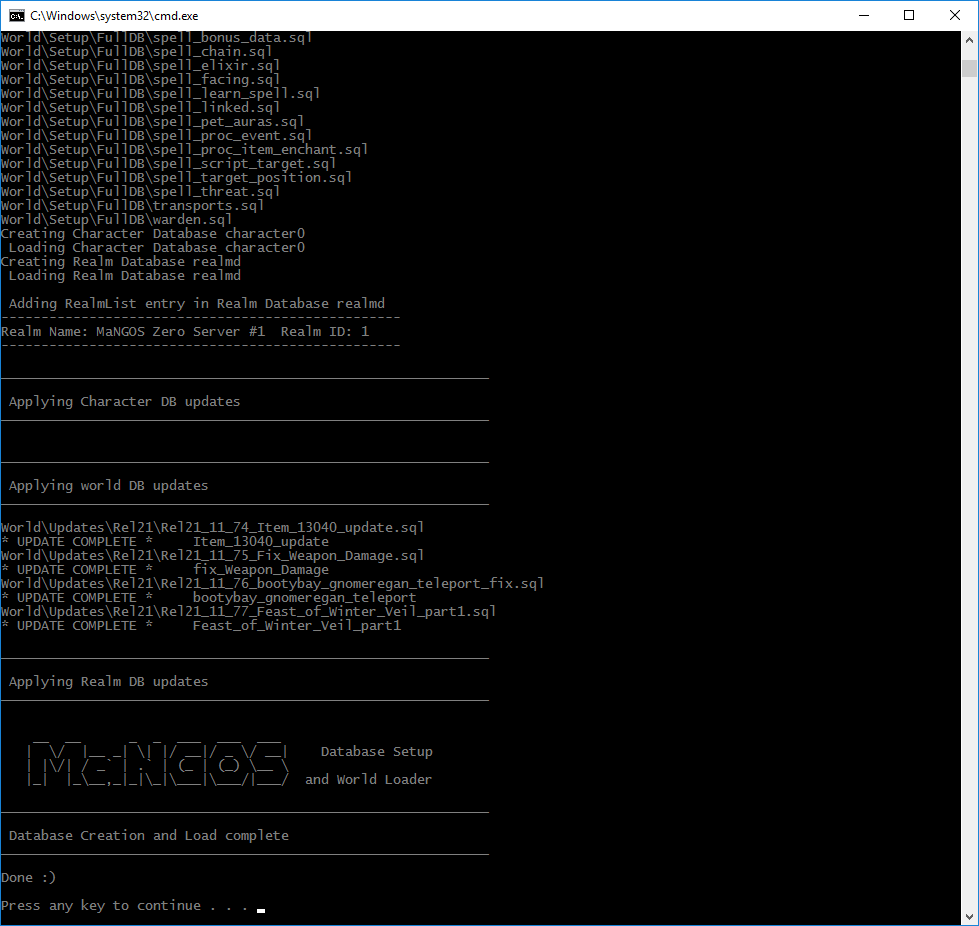
19) At this point the database is now fully loaded.
20) On the server where you copied the files earlier, rename the 4 .conf.dist files as .conf
21) Now it's time to start configuring the server, first stop is adjusting the settings in the .conf files as described HERE
22) Now we need to configure the Realm Database to use the correct IP addresses as described HERE
23) Now the moment of truth...
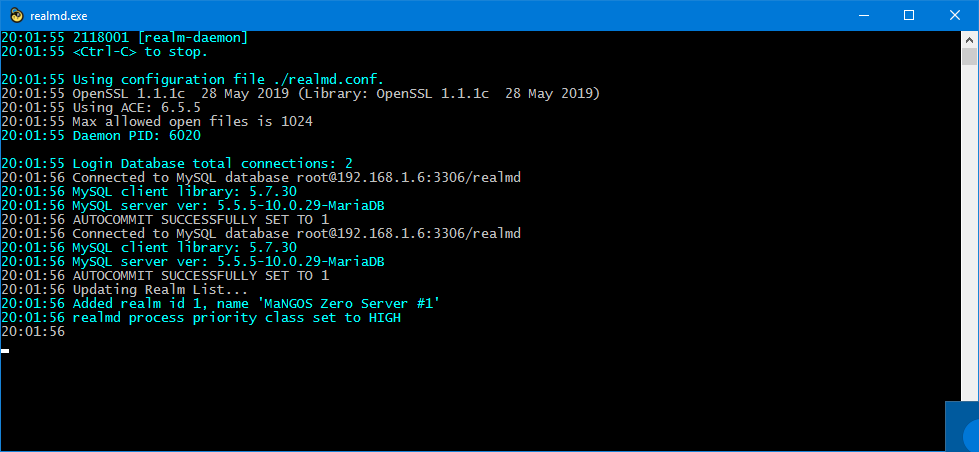
24) Double click realmd.exe from the server folder, you should see a screen like:
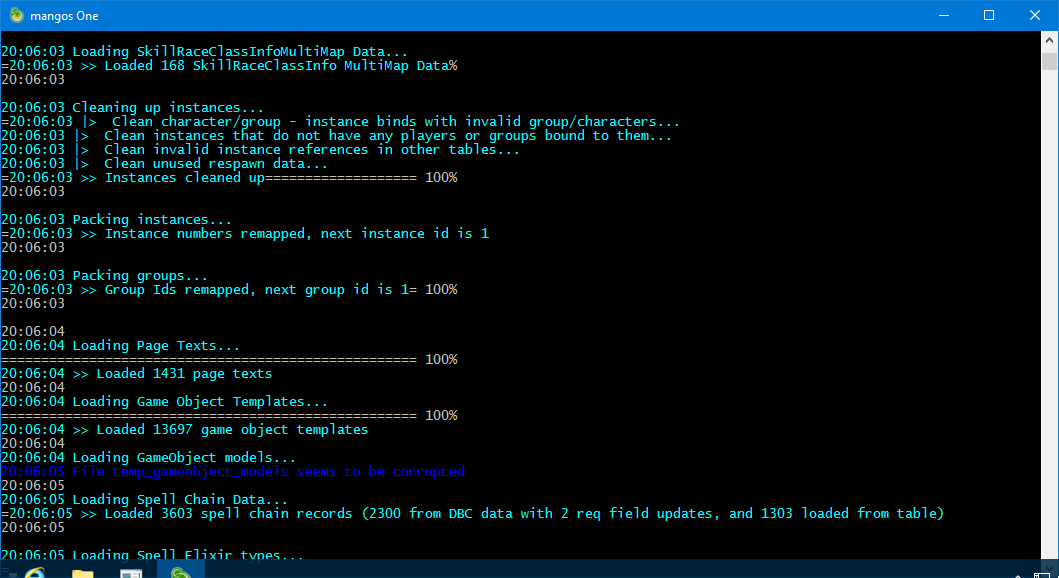
25) Double click mangosd.exe from the server folder, you should see lots of messages like:
26) You now need to create an account to allow you to login to your server from the client:
Type:
ACCOUNT CREATE username password expansion
(Where expansion is one of the following: 0 = Classic, 1 = TBC, 2 = WOTLK, 3 = Cataclysm, 4 = MOP, 5 = WOD, 6 = Legion)
- This is also the max allowed expansion this account can use!
NOTE: for mangos Zero, omit the expansion parameter.
27) and now for the the final step.....
28) One of the client files (realmlist.wtf) will need to be adjusted to point to your server, a description of how to do this is HERE
29) Start the your client(wow.exe),do NOT use the launcher, enter the account information created above and enjoy.

Recommended Comments
Create an account or sign in to comment
You need to be a member in order to leave a comment
Create an account
Sign up for a new account in our community. It's easy!
Register a new accountSign in
Already have an account? Sign in here.
Sign In Now